|
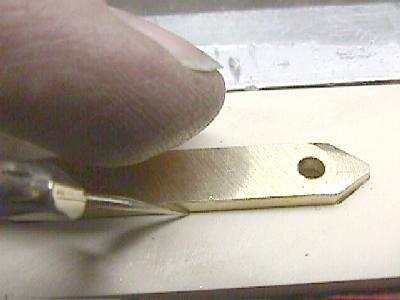
First I Make my Escutcheon piece you can make it any shape or size
I pre drilled the holes,
one reason is you
can insert a pin to remove the part once in
place easier, you
can do this later
Place the part On your handle
material and scribe a line as close
to the parts as possible
|
|
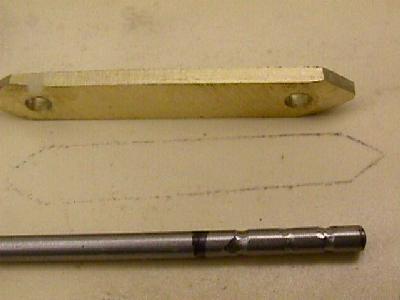
If you rub the scribed line
with a dirty finger you can see it better.
Notice The pin,
I notch them so the epoxy holds better
get most the material
out with a Dremel or a mill to a depth a little less
then your part is thick, this one 1/8"
I get as close as I can to the line with
the Dremel with a #196 bit, checking for fit as I go.
then I use an exac-to knife
to shave out fine pieces
until the part fits
|
|
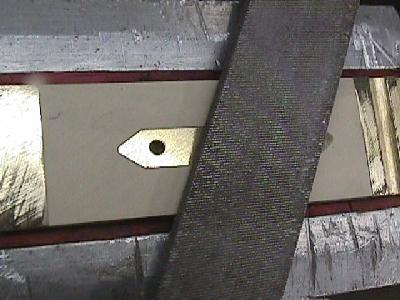
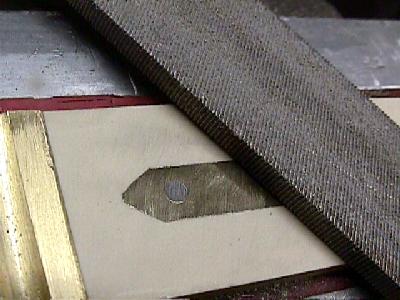
Epoxy the part in place then let it set up, then I file it down close to the ( in this case) Micarta
|
|
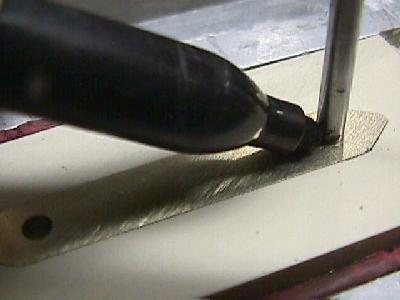
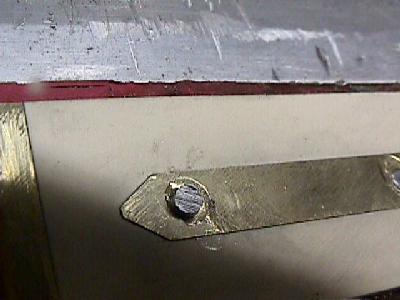
Now you can drill your
holes, fit,
mark and make your pins,
Epoxy them in,
you can peen the pins over
if these are the only pins that will hold the scales on.
|
|
Pins in place
|
|
File or sand it all flush and finish as you normally would.
|
|
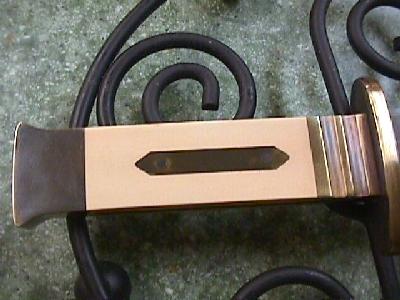
I made this one Antique looking and used steel pins
|
|
To Gray Knives
accessed times since 3/17/02
|